

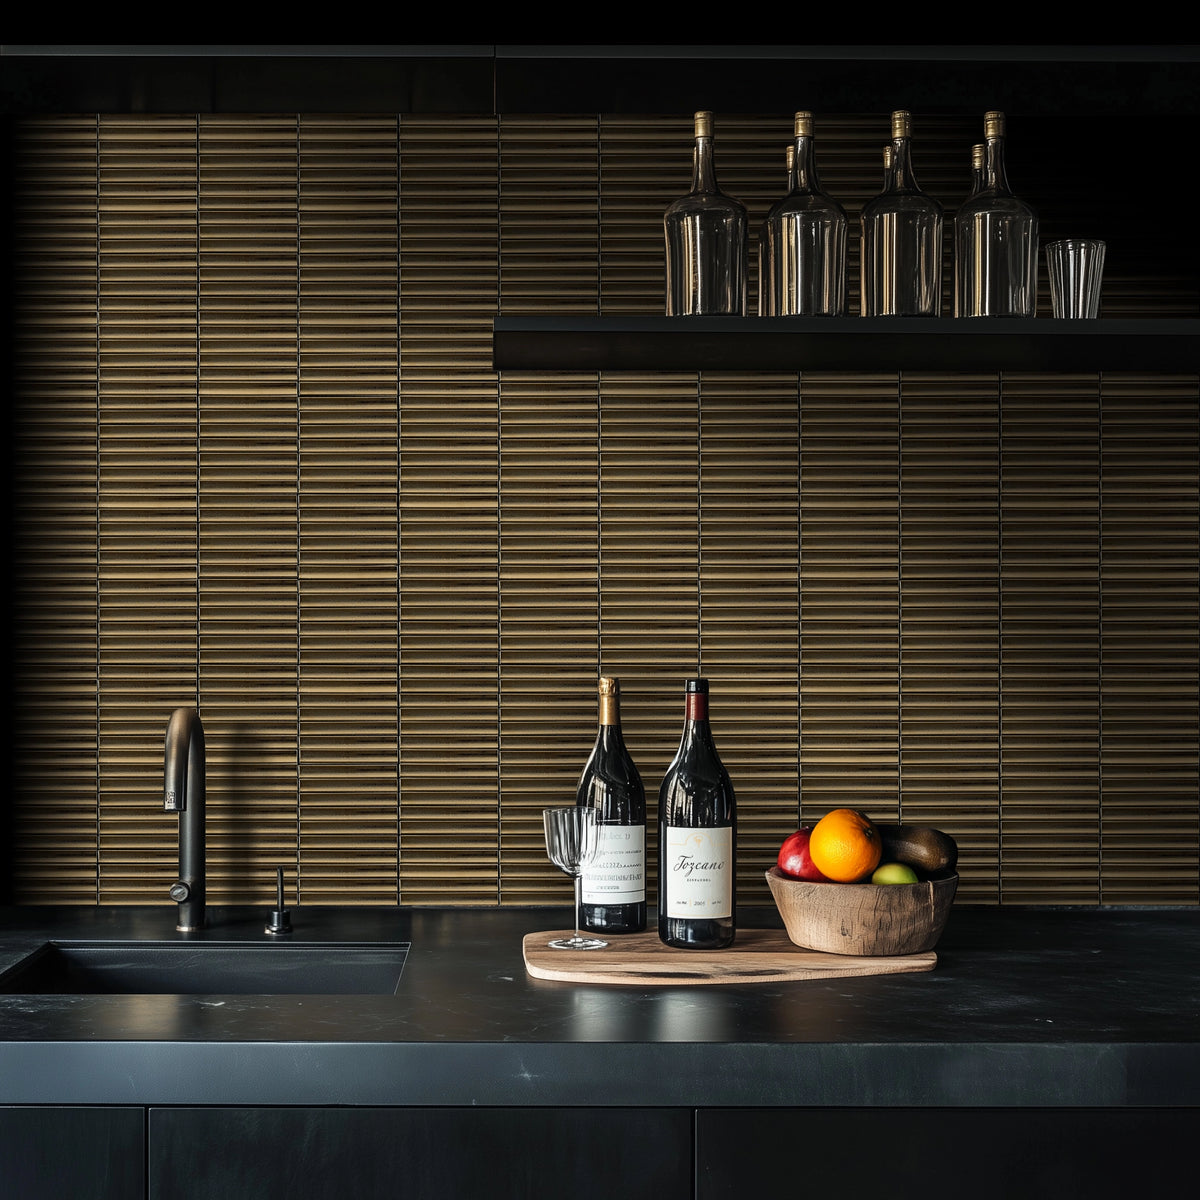
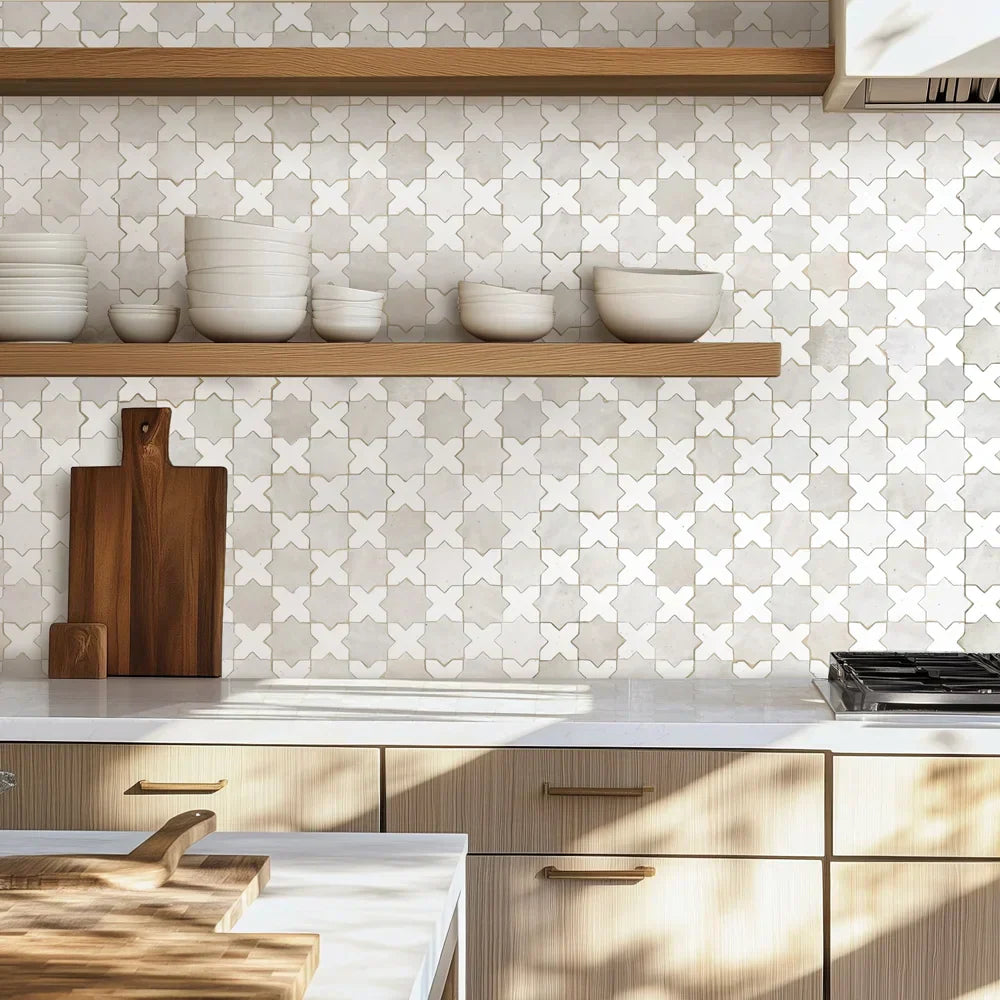
Zellige Backsplash Installation Guide: Layout, Grout, Edges, Sealing, and Care
A Zellige backsplash brings handmade texture, luminous glaze, and distinctive Moroccan character to a kitchen, bar, bathroom, or decorative wall. Unlike highly uniform machine-made tile, authentic Zellige includes intentional differences in color, thickness, glaze, shape, and edge detail.
These variations create the depth and movement that make Zellige visually appealing, but they also require thoughtful planning and an installer who understands handmade tile.
A successful installation depends on more than selecting the right color. The tile should be inspected and blended, the layout should be planned around cabinetry and outlets, exposed edges should be resolved before installation, and grout and sealer should be tested on actual material.
This guide explains the most important considerations for installing a Zellige tile backsplash, including layout, substrate preparation, tile blending, grout joints, cutting, exposed edges, sealing, cleaning, overage, and ongoing care.
What Makes a Zellige Backsplash Different?
Authentic Zellige is traditionally handmade in Morocco from clay that is shaped, dried, fired, glazed, and finished by artisans.
Because the manufacturing process is handmade, Zellige tile is not intended to look perfectly flat or identical. Common characteristics may include:
- Differences in tile size
- Variation in thickness
- Uneven or softly chipped edges
- Changes in glaze depth
- Color variation from piece to piece
- Small pits or surface texture
- Subtle bowing or irregularity
- Exposed clay along some edges
- Changing light reflection across the installation
These features are part of the intended handmade appearance and should be blended throughout the backsplash rather than removed from the installation.
Is Zellige Suitable for a Kitchen Backsplash?
Yes. Zellige is especially well suited for kitchen backsplashes because the glazed surface reflects light and adds depth without requiring a highly complex pattern.
Zellige can be used behind sinks, countertops, shelving, and cooking areas when the selected product, adhesive, grout, sealer, and installation method are appropriate for the location.
Because backsplashes may be exposed to grease, food, water, steam, and cleaning products, proper installation and routine maintenance are important.
Always review the specifications of the selected product before installation. Arda Ogan’s current Zellige collection is intended for wall use.

Choose the Zellige Format Before Planning the Layout
Zellige is available in several sizes and shapes, and each format creates a different installation rhythm.
4×4 Square Zellige
A 4×4 square creates a classic and balanced backsplash. It allows the glaze and handmade variation to remain the primary visual feature.
Popular layouts include:
- Straight stacked grid
- Diagonal layout
- Two-color checkerboard
- Framed decorative panel
2×6 Rectangular Zellige
A 2×6 rectangular tile provides a handmade interpretation of a subway tile.
Popular layouts include:
- Running bond
- Horizontal stack
- Vertical stack
- Herringbone
Long Oval Zellige
A long oval introduces softer geometry and a more decorative appearance. It works well for statement backsplashes, bars, powder rooms, and smaller feature areas.
Circle and Crosshatch Mosaics
Mosaic formats create more texture, pattern, and grout lines. They can be used across an entire backsplash or limited to a range wall, niche, bar, or decorative panel.
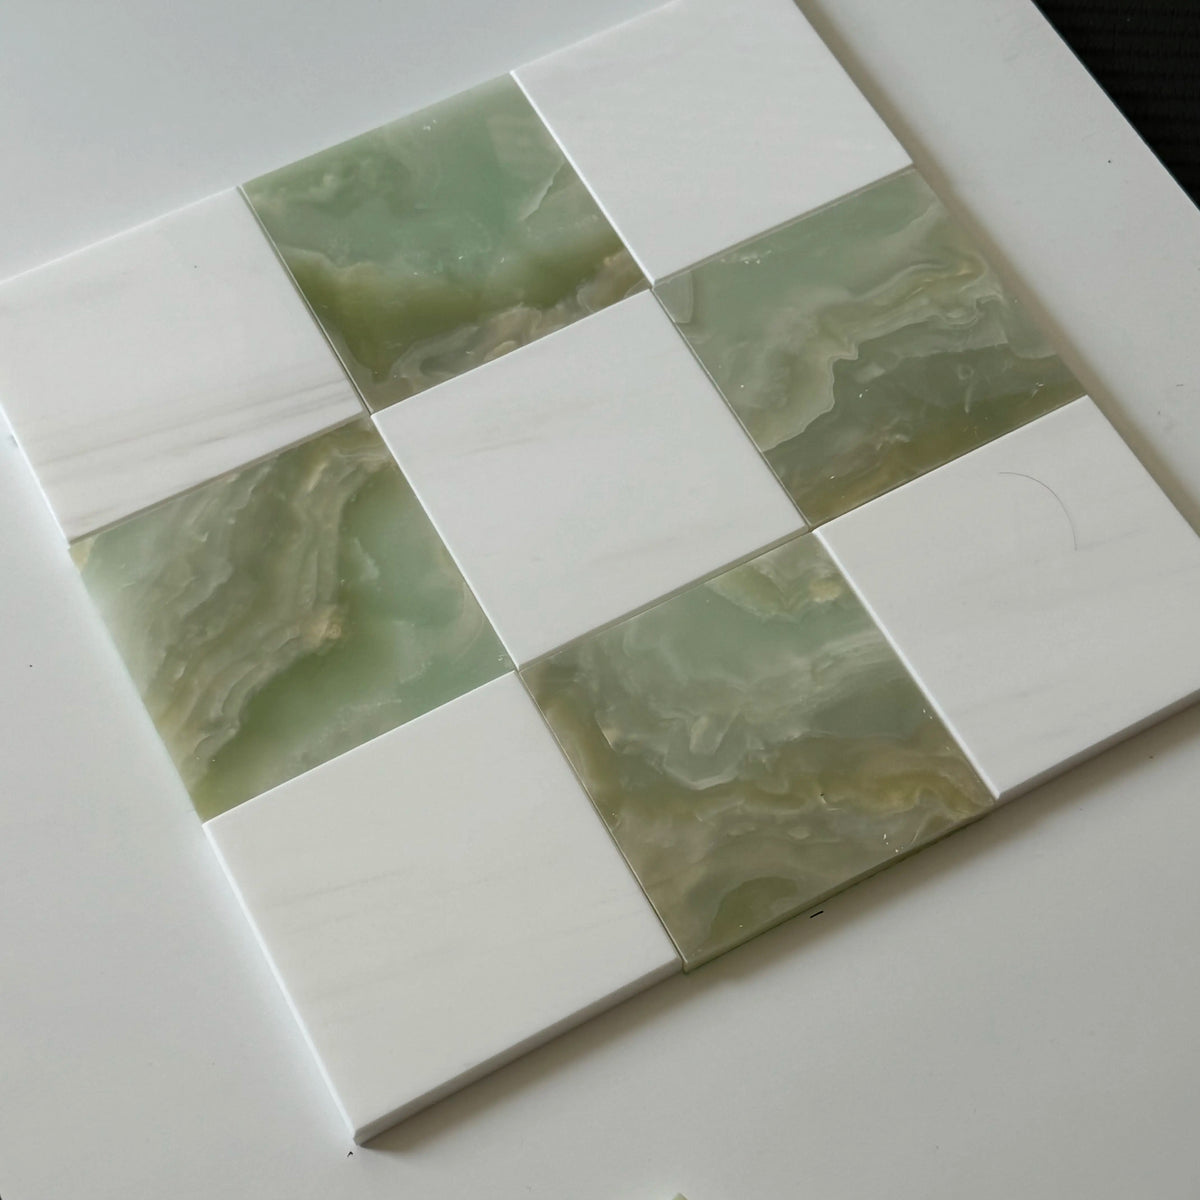
Zellige Checkerboards
Two-color Zellige checkerboards combine a familiar geometric pattern with handmade glaze and irregular edges. They can create a distinctive focal point behind a range, sink, bar, or open shelving.
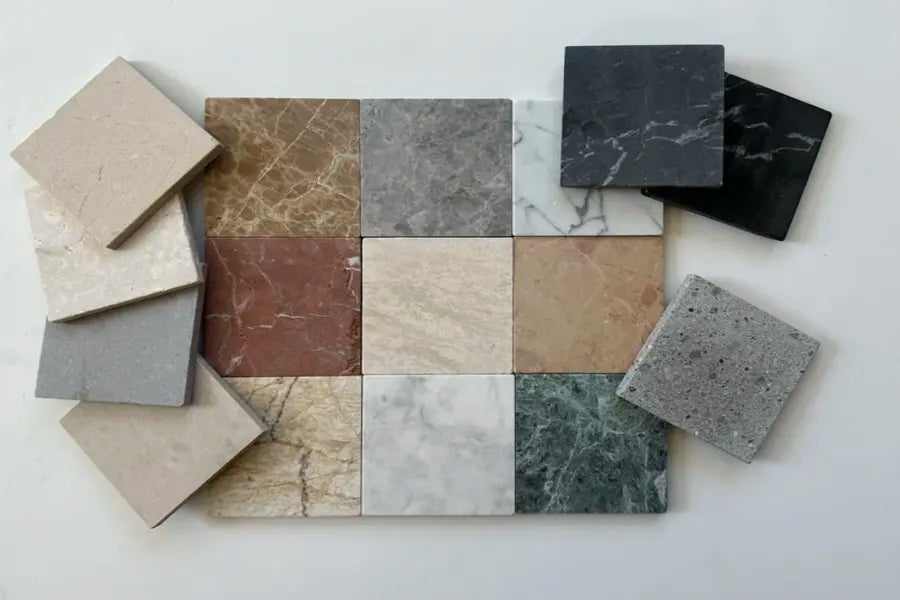
Order Samples Before Selecting the Final Color
Zellige color cannot be accurately judged from a digital screen alone.
Glossy glaze, lighting, surrounding finishes, and natural variation can cause the same color to look different throughout the day.
Before placing a full order:
- Review physical samples.
- Place them beside the countertop and cabinetry.
- View them under daylight and evening lighting.
- Compare the tile with the planned grout color.
- Review the glaze from several angles.
- Confirm that the handmade variation suits the project.
A sample represents the general color and finish but cannot display the full range of variation found in a complete order.
How Much Zellige Tile Should You Order?
Additional material is necessary for cuts, breakage, layout adjustments, color blending, irregular pieces, and future repairs.
- Order approximately 10%–15% additional material for straightforward stacked or running-bond layouts.
- Consider approximately 15%–20% additional material for herringbone, diagonal, multicolor, checkerboard, mosaic, or complex layouts.
- Backsplashes with many outlets, corners, niches, windows, or perimeter cuts may require additional overage.
Retaining unused tile after installation is strongly recommended because future production batches may not match the original color range exactly.
Inspect the Shipment Before Installation
All tile should be inspected as soon as it arrives and before installation begins.
- Check cartons, crates, or pallets for visible shipping damage.
- Note any damage on the carrier’s delivery receipt before the driver leaves.
- Open and inspect several boxes.
- Photograph any broken pieces and damaged packaging.
- Record the quantity and item numbers affected.
- Keep all packaging and damaged material until a claim is reviewed.
- Do not install questionable or damaged material.
Even when the exterior packaging appears undamaged, concealed breakage may exist. Prompt inspection and documentation help preserve eligibility for a shipping claim.
Blend Zellige from Multiple Boxes
Do not install one box at a time.
Zellige should be blended from several boxes so variations in color, glaze, texture, and edge detail are distributed evenly throughout the backsplash.
Recommended Blending Process
- Open several boxes before installation.
- Lay out a representative group of tiles.
- Separate noticeably lighter and darker pieces.
- Review differences in glaze and surface texture.
- Mix pieces from different boxes.
- Distribute highly distinctive tiles intentionally.
- Review the arrangement from normal viewing distance.
The objective is not to make every tile look identical. The objective is to create a balanced field of handmade variation.
Dry-Lay the Backsplash Before Setting Tile
A dry layout helps identify problems before adhesive is applied.
The installer should review:
- The starting point
- The centerline of the backsplash
- The height beneath upper cabinets
- The position of outlets and switches
- The relationship to the sink or range
- The size of perimeter cuts
- The location of highly varied pieces
- The treatment of exposed edges
Small layout adjustments can prevent narrow slivers of tile at corners, cabinet edges, or the top of the backsplash.
Choose the Visual Center of the Backsplash
The mathematical center of the wall is not always the best visual center.
The layout may need to align with:
- A range or cooktop
- A sink
- A kitchen window
- Open shelving
- A decorative hood
- A bar sink
- A bathroom vanity
For a range wall, the installer may center the pattern on the range or hood rather than the full wall. In a small backsplash, balanced cuts at both sides may be more important than centering one full tile.
Prepare the Substrate Properly
The wall behind the tile should be sound, clean, flat, dry, and suitable for the selected installation system.
Substrate preparation may include:
- Removing grease, dust, paint failure, or loose material
- Repairing damaged drywall or backer board
- Flattening uneven surfaces
- Confirming that the wall is structurally stable
- Installing appropriate backer or waterproofing where required
- Allowing repairs and waterproofing materials to cure fully
Zellige’s natural irregularity should not be used to conceal a poorly prepared substrate. A flat and properly prepared wall makes it easier to control the finished surface.
Select the Right Adhesive
The adhesive should be appropriate for the tile, substrate, installation area, and exposure conditions.
For light-colored or translucent materials, a white adhesive may be preferred to reduce the risk of color influence through the tile or grout joints.
The installer should follow the recommendations of the adhesive manufacturer and verify compatibility with handmade glazed tile.
Adhesive coverage is important. Voids behind tile may reduce support and create weak areas.
Managing Differences in Tile Thickness
Handmade Zellige may vary slightly in thickness.
An experienced installer can manage this by adjusting the amount of adhesive behind individual pieces and reviewing the wall from several angles during installation.
The goal is not necessarily to create a perfectly machine-flat surface. Slight movement is part of Zellige’s character. However, excessive lippage or unsupported tile should be avoided.
Should Zellige Be Installed Edge-to-Edge?
Zellige is sometimes installed with very narrow and irregular joints, but the appropriate spacing depends on the product, tile shape, edge condition, substrate, and installer’s experience.
Because the edges are handmade, joints may not appear perfectly uniform even when spacers are used.
The installer should avoid forcing irregular tiles into a rigid machine-made grid. Instead, the layout should be adjusted visually so the joints appear balanced across the wall.
Follow the supplier’s and installer’s recommendations for the specific product.
Choosing a Grout Joint Width
Grout-joint width affects both the appearance and practicality of the backsplash.
Narrow Grout Joints
Narrow joints create a more continuous field of glaze and keep attention on the tile surface.
However, handmade edge variation may make the joints appear uneven.
Moderate Grout Joints
A slightly wider joint may accommodate differences in tile size more easily and can make the layout more forgiving.
The ideal width should be established with actual tile samples before installation.
Choosing a Grout Color
Grout color can either soften or emphasize the handmade pattern.
Matching Grout
A grout color close to the tile creates a more unified surface. The glaze variation remains the main feature.
Contrasting Grout
Contrasting grout outlines each tile and emphasizes the shape, pattern, and irregular edges.
It can also make uneven joints and dimensional differences more noticeable.
Warm Neutral Grout
A warm white, beige, or soft gray may provide balance when the tile includes significant color variation.
Always test grout against actual tile before installation. Grout color should not be selected only from a printed chart or digital screen.
Test Grout Before Applying It to the Entire Wall
Dark or strongly pigmented grout may enter small pits, unglazed areas, edge openings, or surface imperfections.
Before grouting the full backsplash:
- Use spare tile to create a test board.
- Apply the intended sealer if recommended.
- Test the grout color and cleaning process.
- Allow the sample to dry fully.
- Review the result under the room’s actual lighting.
This step is especially important when using dark grout with light-colored Zellige.
Should Zellige Be Sealed Before Grouting?
Sealing requirements depend on the tile, glaze coverage, exposed clay, grout color, and installation conditions.
Some Zellige tiles have exposed clay along the edges or small unglazed surface areas. These areas may absorb grout pigment or moisture.
A penetrating sealer may be recommended before grouting, particularly when:
- The tile is light in color
- The grout is dark or strongly pigmented
- The tile contains visible pits or unglazed areas
- The backsplash is located behind a cooking surface
- The installer wants to simplify grout cleanup
Always test the sealer on spare material. Some sealers may slightly change the color or sheen of exposed clay.
Does the Glazed Surface Need Sealing?
The glazed face of Zellige is generally less absorbent than exposed clay, but sealing recommendations vary.
Sealer may be applied primarily to:
- Exposed edges
- Unglazed backs
- Small pits or surface openings
- Grout joints
- Cut edges
Do not assume that every sealer is compatible with every glazed surface. Follow the product manufacturer’s instructions and test first.
Cutting Zellige Tile
Zellige should be cut carefully because handmade clay and glazed edges may chip differently from porcelain or machine-made ceramic tile.
Cutting considerations include:
- Using a sharp blade suitable for the material
- Supporting the tile during cutting
- Cutting slowly to reduce chipping
- Testing the cutting method on spare pieces
- Positioning cut edges beneath trim where possible
- Smoothing exposed cut edges when appropriate
Some minor chipping may occur and can often be concealed beneath outlet covers, cabinet edges, trim pieces, or adjoining surfaces.
Plan Around Electrical Outlets and Switches
Outlets and switches are among the most visible interruption points in a backsplash.
Before installation:
- Confirm the finished tile thickness
- Determine whether electrical-box extenders are needed
- Plan cuts to avoid very narrow pieces
- Keep outlet-cover alignment consistent
- Coordinate electrical work with the installer
Electrical work should be performed by a qualified professional where required.
How to Finish Exposed Zellige Edges
Exposed edges should be planned before installation begins.
Possible solutions include:
Glazed Edge Pieces
Some tile collections include matching trim or glazed-edge pieces. Availability should be confirmed before placing the order.
Natural Exposed Zellige Edge
Some designers intentionally leave the handmade clay edge visible. This creates a rustic and authentic appearance but should be sealed or finished appropriately.
Metal Edge Trim
A slim metal profile can create a clean transition at the end of the backsplash. The finish may coordinate with faucets, cabinet hardware, or lighting.
Wood or Cabinet Return
The backsplash may terminate against cabinetry, shelving, window trim, or a finished wall return.
Stone Trim or Liner
A natural-stone liner, pencil, or border may be used when it coordinates with the countertop or surrounding materials.
Edge thickness, color, and finish should be reviewed with actual samples before installation.
Inside and Outside Corners
Corners require careful planning because handmade tile thickness and edge irregularity may be visible.
Inside Corners
Inside corners may use a small movement joint rather than rigid grout, depending on installation requirements and local standards.
Outside Corners
Outside corners may be finished with:
- Mitered tile edges
- Glazed trim pieces
- Metal profiles
- Natural exposed clay edges
- Coordinating stone trim
Mitering handmade tile requires skill because the pieces may not have perfectly consistent thickness.
Installing Zellige Behind a Range
Zellige can create a beautiful focal point behind a range or cooktop.
Important considerations include:
- Heat exposure
- Clearance requirements
- Grease and cooking residue
- Grout and sealer selection
- Ease of cleaning
- Pattern centering beneath the hood
The backsplash materials and installation system should comply with appliance specifications and applicable building requirements.
A proper penetrating sealer and routine cleaning may help protect exposed clay and grout from cooking residue.
Installing Zellige Around a Window
Windows introduce several visible edges and transitions.
The installer should plan:
- How the tile meets the window frame
- Whether the sill and returns will be tiled
- How exposed edges will be finished
- How the pattern aligns on both sides
- Whether full or balanced cut pieces can be maintained
Because windows are often focal points, uneven or poorly planned cuts may be especially noticeable.
Installing Zellige Beneath Open Shelving
Open shelving allows more of the backsplash to remain visible than traditional upper cabinets.
Before installation, determine:
- Whether tile will continue behind the shelves
- Where shelf brackets will penetrate the wall
- How the pattern will align with shelf edges
- Whether additional blocking is required
- How holes will be drilled without damaging the tile
Shelf locations should be coordinated before tile installation whenever possible.
Grouting Zellige Tile
Grouting should be performed carefully to avoid damaging the glazed surface or leaving pigment in pits and irregular areas.
General considerations include:
- Following the grout manufacturer’s instructions
- Working in manageable sections
- Using appropriate tools
- Avoiding overly aggressive scrubbing
- Cleaning residue promptly
- Changing rinse water frequently
- Allowing grout to cure before final cleaning
Do not use abrasive pads or harsh chemicals on the glazed surface.
Removing Grout Haze
Grout haze should be addressed with methods approved for both the grout and Zellige tile.
Avoid acidic haze removers unless the manufacturer specifically confirms compatibility. Acidic cleaners may damage grout, exposed clay, natural stone trim, or surrounding materials.
When possible, prevent heavy haze through proper grouting and timely cleanup rather than relying on aggressive post-installation chemicals.
Caulking and Movement Joints
Changes of plane, such as inside corners and countertop-to-wall transitions, may require a flexible sealant rather than rigid grout.
Movement joints help accommodate normal building movement and reduce the risk of cracking.
The appropriate locations and materials should be determined by the installer according to the installation system and applicable standards.
How Long Should the Installation Cure?
Curing time depends on the adhesive, grout, sealer, substrate, temperature, humidity, and installation conditions.
Do not expose the backsplash to heavy cleaning, moisture, or cooking residue until the products have cured according to their manufacturers’ instructions.
Sealer and grout may require additional curing time before routine use.
Cleaning a Zellige Backsplash
Routine cleaning should be gentle.
Recommended Cleaning Approach
- Wipe spills and cooking residue promptly
- Use a soft cloth or nonabrasive sponge
- Use a mild, pH-neutral cleaner when needed
- Rinse away cleaner residue
- Dry the surface with a soft cloth
Avoid:
- Abrasive powders
- Rough scrub pads
- Harsh acidic cleaners
- Strong alkaline chemicals
- Metal scrapers
- Prolonged exposure to grease or staining substances
Always test a new cleaning product in a small, inconspicuous area first.
Maintaining Grout and Exposed Clay
Grout and exposed clay may require more maintenance than the glazed tile face.
Depending on the installation, maintenance may include:
- Periodic resealing
- Prompt cleaning of cooking residue
- Repairing damaged caulk joints
- Touching up grout where needed
- Checking exposed edges for absorption or staining
Follow the sealer manufacturer’s guidance regarding reapplication.
Can Zellige Be Used in a Bathroom Backsplash?
Yes. Zellige works well behind vanities, sinks, mirrors, and decorative bathroom walls.
Its glossy surface reflects light and can add depth to small powder rooms and bathrooms.
For areas exposed to frequent water, confirm that the substrate, adhesive, grout, sealant, and installation method are suitable for the location.
Can Zellige Be Used on Shower Walls?
Many Zellige products can be used on shower walls when properly installed over an appropriate waterproofing system.
However, the product must be approved for the intended application.
Arda Ogan’s current Zellige collection is intended for wall use and is not recommended for shower pans, submerged pool applications, or continuous underwater use.
Should Zellige Be Used on a Shower Floor?
Arda Ogan’s current Zellige products are not recommended for shower-pan applications.
Shower floors require tile with suitable slip characteristics, drainage compatibility, durability, and approved wet-floor performance.
Select a product specifically rated for shower-floor use.
Can Zellige Be Installed Over Existing Tile?
Installing over existing tile may be possible in some circumstances, but the existing surface must be stable, properly bonded, clean, flat, and suitable for the proposed installation system.
Additional thickness may affect outlets, cabinet clearances, window returns, and countertop transitions.
The installer should evaluate the existing surface before work begins.
Should a Professional Install Zellige?
Professional installation is strongly recommended.
An installer experienced with handmade tile should understand how to:
- Blend color and glaze variation
- Manage differences in thickness
- Plan irregular grout joints
- Cut handmade clay carefully
- Resolve exposed edges
- Test grout and sealer
- Protect the glazed surface
- Create a visually balanced layout
The goal is not to eliminate the handmade character. The goal is to arrange it intentionally and install it securely.
Common Zellige Backsplash Installation Mistakes
Installing One Box at a Time
This may create visible concentrations of color and glaze variation.
Skipping the Dry Layout
This can result in narrow cuts, poor centering, or awkward outlet placement.
Expecting Perfectly Uniform Joints
Handmade tile edges naturally create some variation in joint width.
Failing to Plan Exposed Edges
This may leave unfinished clay or awkward transitions at the ends of the backsplash.
Using Dark Grout Without Testing
Pigment may enter pits, edges, or unglazed areas and alter the appearance.
Skipping Sealer Testing
Some sealers may deepen the color of exposed clay or change the finished appearance.
Using Abrasive Cleaning Products
Abrasive pads and harsh chemicals may damage the glaze, grout, or exposed clay.
Ordering Without Sufficient Overage
Handmade tile installations require additional material for cuts, breakage, blending, and future repairs.
Frequently Asked Questions
Does Zellige tile need grout?
Yes. Grout fills the joints, supports the installation, and helps protect the substrate. Joint width may vary because of the tile’s handmade edges.
What grout color is best for Zellige?
A matching grout creates a softer, more continuous surface. Contrasting grout emphasizes each tile and the irregular edges. Always test the grout against actual tile before installation.
Should Zellige be sealed before grouting?
A penetrating sealer may be recommended when the tile has exposed clay, pits, unglazed areas, or when dark grout is being used. Test the sealer on spare material first.
Can Zellige be installed with very narrow grout joints?
Narrow joints may be possible, but handmade differences in size and edge shape mean the joints will not appear perfectly uniform. Follow product-specific and installer recommendations.
Are chipped edges normal on Zellige?
Softly chipped or irregular edges are common characteristics of authentic handmade Zellige. Significant shipping breakage should be documented and reported before installation.
How much extra Zellige should I order for a backsplash?
Approximately 10%–15% additional material is generally recommended for straightforward layouts. Herringbone, diagonal, multicolor, checkerboard, and complex layouts may require approximately 15%–20% additional material.
Can Zellige be used behind a stove?
It may be used behind a stove or range when the tile and installation system are appropriate and required appliance clearances are followed. Grout, exposed clay, and surrounding joints should be properly protected and maintained.
Can Zellige be used on shower walls?
Many Zellige products can be used on properly waterproofed shower walls when approved for that application. Arda Ogan’s current Zellige products are intended for wall use but not for shower pans or submerged applications.
How should Zellige be cleaned?
Use a soft cloth or nonabrasive sponge with a mild, pH-neutral cleaner. Avoid abrasive pads, harsh acids, strong alkaline cleaners, and metal scrapers.
Should Zellige be installed by a professional?
Professional installation is strongly recommended because handmade variation, irregular joints, exposed edges, sealing, and cutting require experience and careful planning.
Explore Authentic Handmade Moroccan Zellige
Arda Ogan Tile Store offers authentic handmade Moroccan Zellige in classic squares, rectangular tiles, long ovals, decorative mosaics, and Signature Checkerboards™ for kitchen backsplashes, bathroom walls, fireplaces, bars, and professionally designed interiors.
Browse the collection, request samples, or contact our team for assistance with colors, formats, quantities, custom production, installation planning, and trade or project pricing.

Leave a comment
This site is protected by hCaptcha and the hCaptcha Privacy Policy and Terms of Service apply.